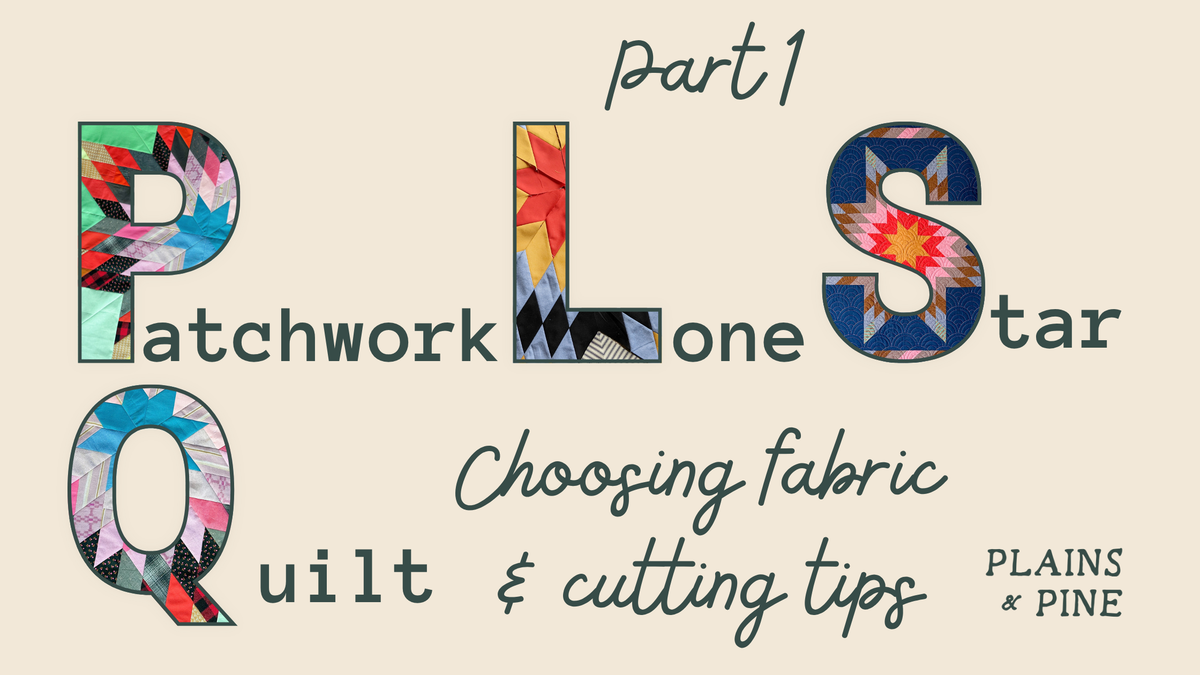
Making a Patchwork Lone Star Quilt: Choosing Fabric and Getting Started
If you’ve wanted to make a Lone Star quilt but have felt intimidated by the angles and diamonds, the Patchwork Lone Star is a great place to start. There are no y-seams in this pattern so it's a great first Lone Star pattern. If you can cut fabric accurately and are able to consistently sew a 1/4" seam, then you can make this quilt!
In this post I walk you through the different versions in this pattern and also share a few reasons at the end why I love to use what I already have.

The best thing about this pattern (in my opinion) is that it is intentionally written to use what you already have in your fabric stash. It works with FQs, F8s, yardage, 2.5" (aka Jelly Roll) strips, small scraps, thrifted fabric, etc.
Since it is written to use what you have, you can make yours scrappy, work with a smaller color palette, or alternate a mix of fabrics with one solid color. Each version has a different feel, which is one of my favorite things about this pattern.
Why I Love Star Quilts
I grew up on the Fort Peck Indian Reservation on the Northern Plains of Montana, where I would see beautiful, hand-stitched and hand-quilted Star quilts being given away at basketball tournaments and other events as a sign of honor. I loved watching these giveaways and appreciated the beauty of the quilts long before the thought of sewing entered my mind.
Those memories are a big part of why I’m drawn to this design. If you’d like to read more, I’ve shared more background in two other blog posts: A Brief History of Star Quilts on the Northern Plains of Montana and Star Quilters on the Northern Plains of Montana.
Before You Begin
The Patchwork Lone Star is an advanced beginner pattern. It requires cutting and sewing on the bias, maintaining a consistent ¼" seam allowance, and sewing accurately to match the diamond points.
I wouldn’t recommend it as your very first quilt, but it could be a project to try for your second or third quilt. Take your time, especially when you get to cutting on an angle.
The Patchwork Lone Star quilt pattern includes the fabric requirements and instructions you’ll need. Start by choosing your quilt size and deciding which color version you want to make.

Choosing Your Fabrics
The original intention behind this pattern was to make a patchwork Lone Star using fabric you already have. Fat quarters, fat eighths, yardage from previous projects, and strips from a jelly roll all work well. You can also use smaller scraps.
For a scrappy version, I recommend at least eight different fabrics to get that patchwork look. You could pull fabrics in a few related colors, leftover fabric from a single fabric line, or mix a wider variety from your stash. There are so many ways to make this quilt your own.
Scrappy With Alternating Solid Diamonds
If you want to break up the scrappiness and give the design a little more order, alternate your scrappy fabrics with one solid color or one print. I’ve made a couple versions using this method. One I alternated Kona Snow with scrappy fabrics in a variety of colors. For another, I alternated another shade of white with greens from my stash. Use whatever works with your fabric pull and what you already have.

 For this version, alternate each scrappy strip with a strip of your chosen solid or print when sewing your strip sets. You’ll need:
(12) 2½" × WOF (width of fabric) strips of your solid or single print
and
(12) 2½" × WOF (width of fabric) strips of your other fabrics
Four-Color or Seven-Color Versions
If you prefer a quilt that's not as wild as the scrappy version, the pattern also includes 4-color and 7-color options. These are a good choice if you want to work with a smaller palette or make a seasonal quilt. This is also a good option if you want your quilt to have a radiating look that many Lone Star quilts often do.
 The 4-Color version I made for my son
-
 A 7-Color version
Use the coloring page included in the pattern to try a few combinations before cutting. Sometimes seeing the colors on paper makes the decision easier.
The Background Can Be Scrappy Too
Think beyond the star to use your stash. Your background doesn’t have to come from one piece of fabric. For one of my scrappy versions, I used three different shades of a similar color for the background because I wanted to actually use my stash. I like the variation it adds to the quilt. And it's totally unique!

If you don’t have enough of one fabric, look at what you could combine. A few similar shades can make an interesting background, and those mismatched pieces might become one of your favorite parts.
I also like the look of a background using a variety of low volumes so it appears to have a uniform background from a distance, but up close it has extra interest.
Press Before Cutting
Once you’ve chosen your fabrics, give them a good press. My stash organization involves tightly packed dresser drawers, so everything usually needs some attention before I start cutting! Pressing will also help your cutting accuracy. And accurate cutting will lead to a more enjoyable piecing experience.
I also recommend starching fabrics with a looser weave than traditional quilting cottons. I love to use wovens in my quilts and starching will help them from moving around too much as your are cutting and sewing.
Cutting Your Fabric
The initial cutting is straightforward and goes pretty quickly, especially if you’re starting with jelly roll strips - then you only have to cut the background!
The cutting instructions for the star are the same for all three quilt sizes. Follow the instructions for the type of fabric you’re using to determine how many strips to cut.
The background cutting varies by quilt size. All sizes use the same B1 and B2 cuts, and then you’ll follow the instructions for your chosen size for the remaining background pieces. Figure 1 in the pattern shows how to cut the B2 square into eight triangles.
Using Smaller Scraps
If your fabric pieces are shorter than 21", you can piece them together to make longer strips.
First, cut your scraps to 2½" wide. Then sew them together to make strips that are either 21" or 42" long, depending on the strip length you’re working with. You’ll find more details on the last page of the pattern.
It takes a little extra work, but I think it’s worth it to use what you already have. Especially since my scrap bins seem to grow faster than I can keep up with! Check out this video if you are interested in making your quilt with smaller pieces. I walk through the entire process (all the way to the diamond border) in this video.
Planning a Particular Color for the Center
Even in a scrappy quilt, you can plan where a particular color appears. In this version, I kept red at the center of the star.

 To do this, place the color you want at the center of your star at the top of at least one of your WOF (width of fabric) strip sets. If you are using strips shorter than WOF, I recommend placing this color at the top of (2) strip sets. When you cut your diamond strips, set aside eight diamond strips with that color placement to use as the leftmost strip in each diamond unit.
Planning this before you sew your strip sets makes it easier to keep that color where you want it.
Make It Your Own
Like I said, the intention of this pattern is to use what you already have. Why? Besides saving money buying new fabric for every quilt you make, here are a few of my reasons why I like to use what I already have:
- Using fabrics from multiple past quilts brings all of those quilts together into a single quilt. I love thinking about when I made those quilts and who I made those quilts for as I'm making a new one.
- When I use my stash I am often forced to be more creative with background when I think beyond using a single fabric as my background. I love making the background as interesting as the star.
- I discover unique and unexpected fabric combinations that I probably wouldn't have tried otherwise.
- I get to enjoy the fabric I've already chosen in the past. There was a reason I initially bought the fabrics that now live in my stash and it feels good to actually use those.
- Making a quilt that feels like me. I understand why people use a single fabric collection in their quilts, but that doesn't feel like me. I want to make unique quilts.
If you want to make your own unique Patchwork Lone Star quilt, get the pattern here and check out the next posts for more details on making your quilt.
Ready to start sewing? Check out the next post here.


Leave a comment
All comments are moderated before being published.
This site is protected by hCaptcha and the hCaptcha Privacy Policy and Terms of Service apply.